
How It Works · Employee Class Setup
Set up employee classes and benefit rules
Create employee groups, set class headcounts and review the benefit rules and allowances for your HSA before signing.
What you’ll need
For a business owner or administrator configuring employee groups in the Customize onboarding page.
The employee groups you intend to cover and the headcount for each group.
The intended class percentages and relative Single, Couple and Family coverage weights.
The benefit program, funding choices, annual budget and agreed eligibility rules.
The intended waiting period, carry-over and claims-submission rules.
Follow the setup steps
Work through the steps, then review your plan before signing.
01
Open Customize and find Employee Classes
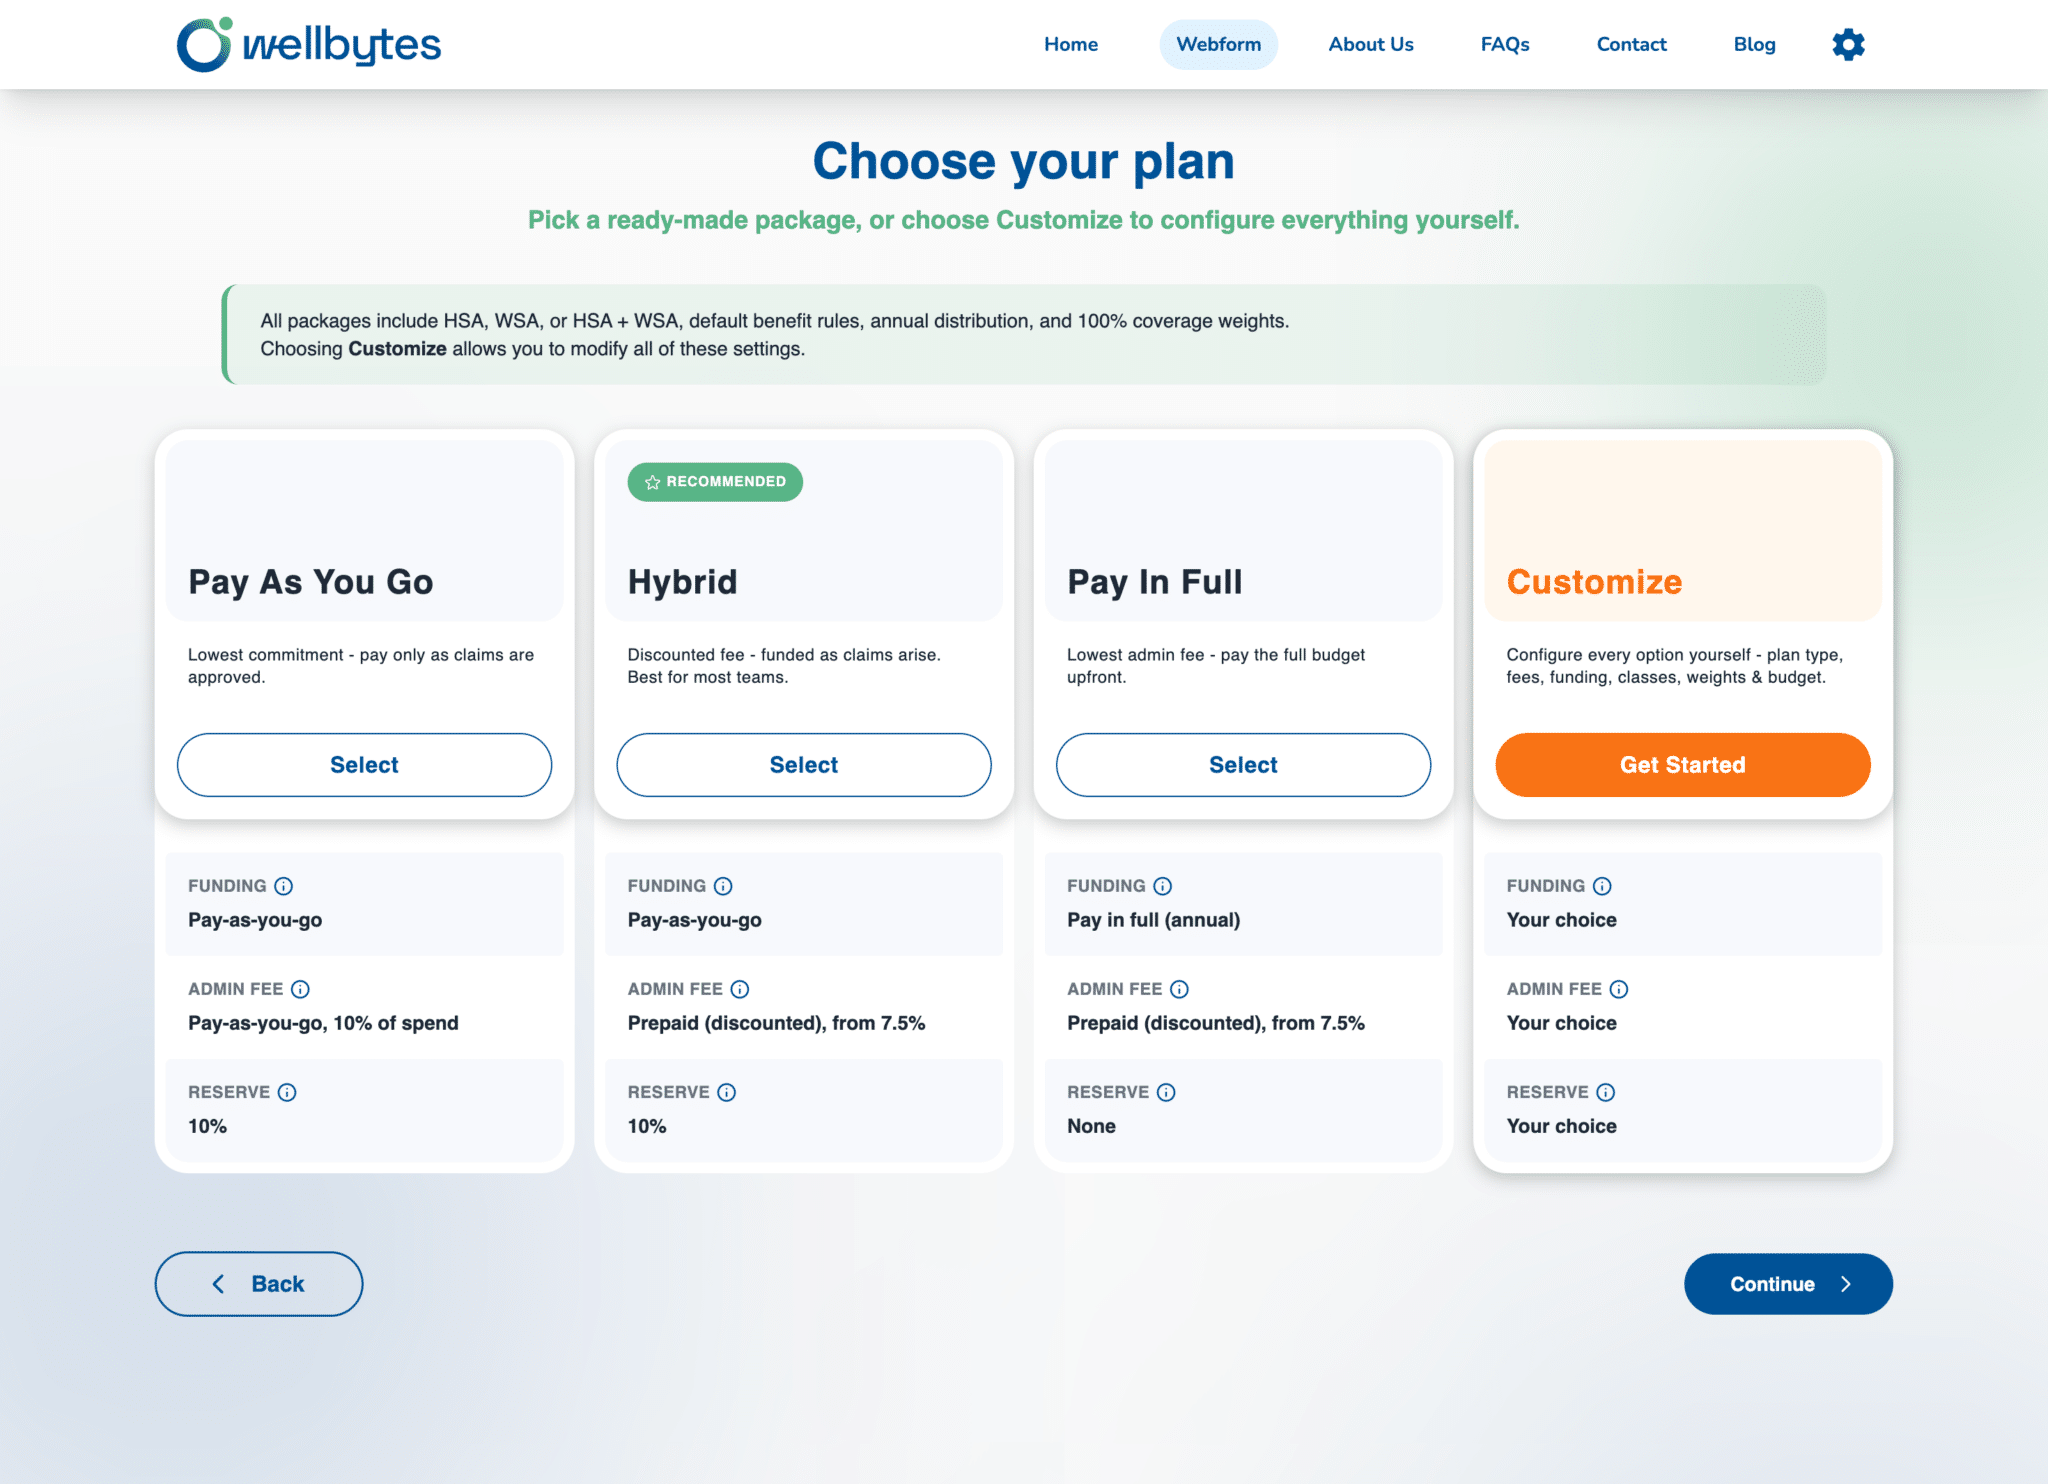
Select Customize on Choose your plan. On A few essentials, find Employee Classes below the eligibility and carry-over settings.
The full Customize page brings program, fee billing, funding, distribution, benefit rules, classes, family-status weights and budget together on one page.
The employee-class section shows Class, %, and Headcount columns. Start with the group structure you intend to use for this plan.
Ready when: You are working in the Employee Classes section of the custom plan.
02
Review eligibility and carry-over rules
On A few essentials, find Eligibility & Carry Over. Review Customize benefit rules? and the rules shown before configuring your employee classes.
Review HSA Funds Carry Over, WSA Funds Carry Over, Waiting Period (Days), Prorate Class, Termination Usability (Months) and Claims Submission (Months). Check each field’s units.
The supplied screen shows plan-level defaults, with the rule fields muted while Customize benefit rules? is No. Review the enabled settings when choosing a different rule configuration.
These are the initial plan rules. The screen says class-specific adjustments can be made later in the Employer Portal; those portal editing steps are not part of this self-onboarding guide.
Ready when: You understand the initial rules and which class-specific changes will need a later review.
03
Choose or add the classes you need
Review the existing Class row. Use Add a predefined class and Add class for another predefined group, or Custom class for a different group.
The example row shows Full-Time (Salaried); it is an example selection rather than the required class for every employer. Use the class names relevant to your team.
Review each row before using its remove control. Do not assume all employees have been enrolled merely because their group is listed here.
Ready when: The class rows represent the groups the business intends to cover.
04
Set class percentages and headcounts
For each class, review % and Headcount. Check the Live summary as you complete the group information and annual budget.
Use the intended participant count for each group and the class percentages appropriate to the plan design. The example’s 100% and zero headcount are not universal plan requirements.
Reconcile the group counts with the employees you intend to cover. Review the resulting totals before accepting the plan; the screenshot does not define an allocation formula for every configuration.
Ready when: The group counts and class percentages match the intended design.
05
Review Family Status Allocation
Below the class rows, review Single, Couple and Family in Family Status Allocation. These are relative coverage weights; Family is the 100% baseline.
The example shows Single 60%, Couple 80% and Family 100%. Treat these as the displayed example configuration, not amounts or mandatory weights for every plan.
The page notes that employees are initially assigned Single coverage and family-status allocation can be adjusted later in the Employer Portal. Confirm each participant’s appropriate status through the enrollment process provided for your plan.
Ready when: You understand the family-status weights and the initial coverage assignment.
06
Enter the annual benefits budget
Under Benefits budget, enter Total annual benefits budget. Check Estimated benefit per employee and the Live summary against your class headcounts.
Check the number of employees and the budget together. Correct a class headcount before relying on the benefit estimate.
If your plan includes both HSA and WSA, review the account split as well as the class percentages and family-status weights. Confirm the final amounts in Review Plan rather than assuming an unseen allocation formula.
Ready when: The budget, class headcounts and displayed estimate are consistent with your intended plan.
07
Review the benefit summary for every class
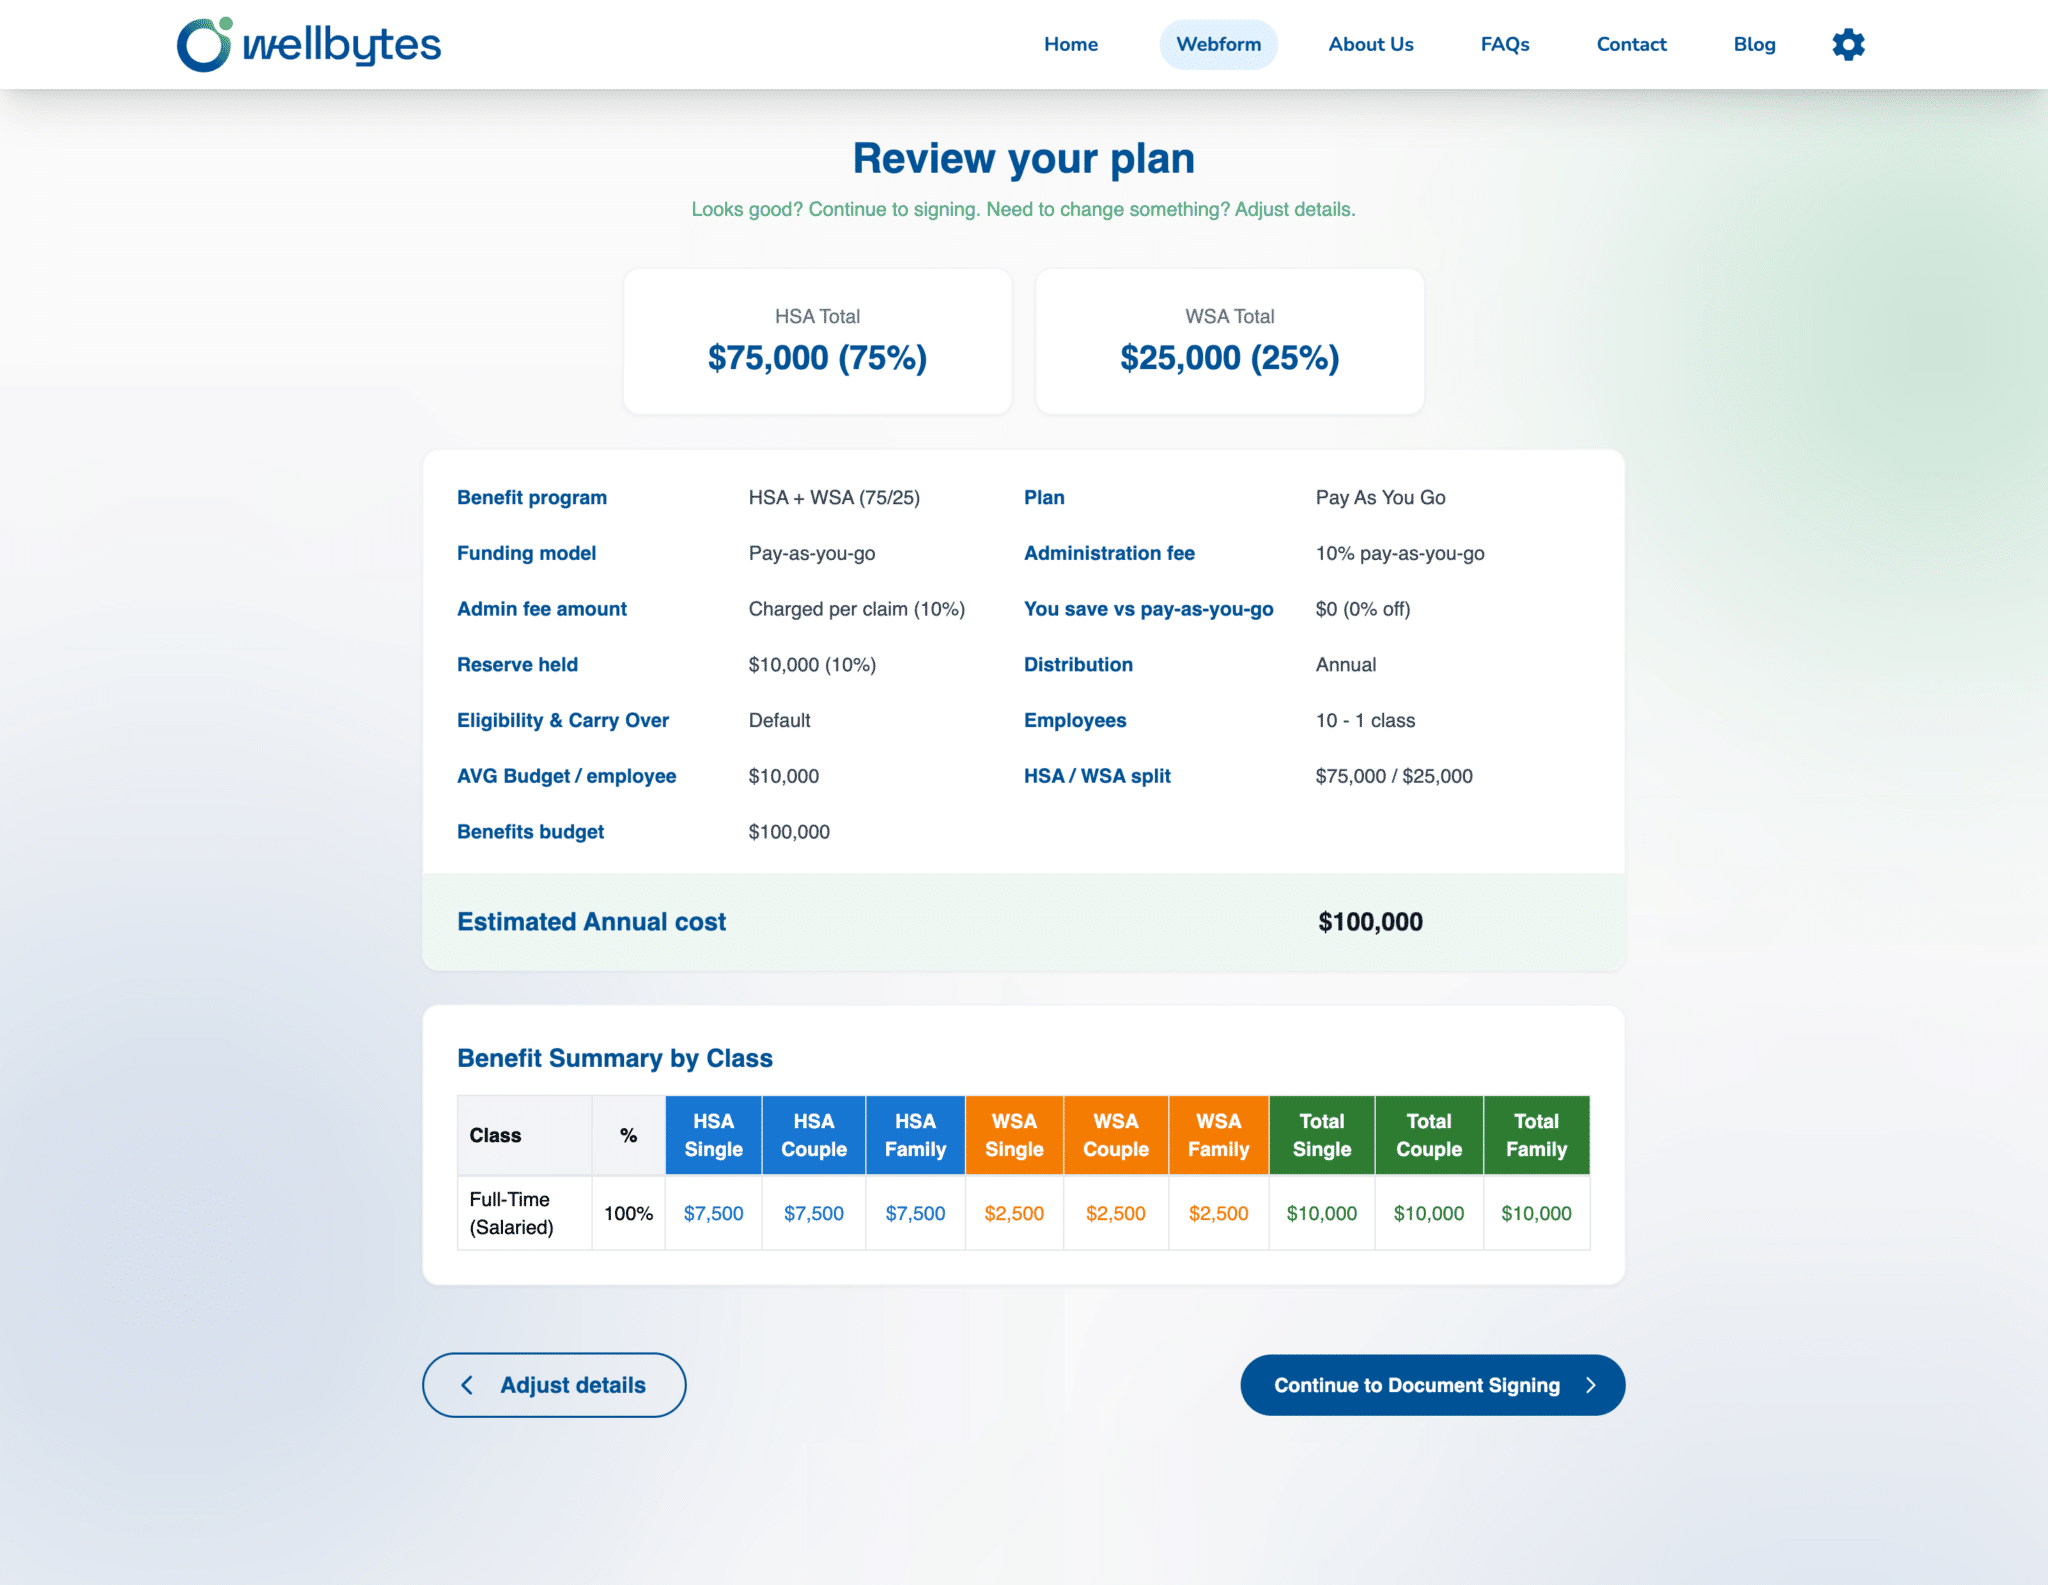
Choose Review Plan and inspect Benefit Summary by Class. Check each class and family-status amount. Use Adjust details if anything differs from the plan you intend.
Check class names, percentages and the HSA/WSA amounts shown for Single, Couple and Family alongside the overall plan summary.
Class setup defines benefit groups; it does not add individual employee accounts or run an employee import. When the design is correct, continue to signing and follow the application’s activation and enrollment instructions.
Ready when: The reviewed class summary reflects the intended groups and benefit amounts.
Before you finish
Use these checks to identify anything that still needs attention.
Class names, percentages and headcounts match the intended employee groups.
Initial eligibility, carry-over, waiting-period and claims-submission settings reviewed.
Single, Couple and Family weights and resulting class amounts checked.
Plan summary reviewed before continuing to signing.
Common questions
Check these details before you finish.
Are the example percentages required?
No. The screenshot illustrates one configuration. Choose the class and family-status values appropriate to your plan, then check the resulting summary before signing.
Does adding a class create employee accounts?
No individual employee-entry or import step is shown here. This page configures benefit groups. Follow the employee enrollment instructions provided for your plan after application review.
Can I set different rules for each class on this page?
The supplied onboarding screen shows the plan’s default rules and notes that class-specific adjustments can be made later in the Employer Portal. Use this guide to create the groups and review their initial benefits. Confirm any required class-specific changes before employees rely on them.
